10 Creative Uses for Common Household Items in Crafts: Fun Family Projects to Try Today
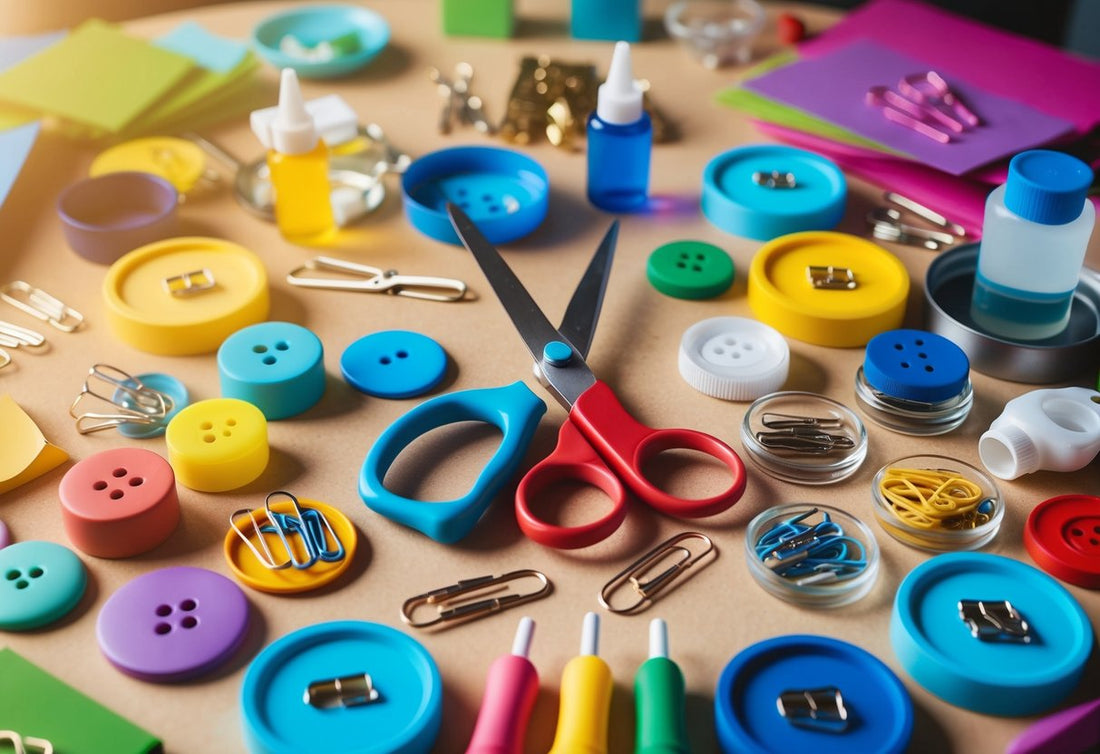
Crafting with everyday household items opens up a world of creative possibilities. We can transform ordinary objects into unique works of art, decorations, and useful tools. This approach not only sparks our imagination but also helps reduce waste and save money.

By repurposing common household items, we unlock their hidden potential and give them new life through our creativity. From turning empty jars into charming candle holders to crafting stunning wall art from old magazines, the options are endless. Let's explore some innovative ways to breathe new life into the everyday objects around us.
1) Toilet Paper Roll Bird Feeder

We've discovered a fun and eco-friendly craft that's perfect for kids and bird lovers alike. Empty toilet paper rolls can be transformed into charming bird feeders with just a few simple steps.
To start, we'll need an empty toilet paper roll, peanut butter, bird seed, and some string. We spread a thin layer of peanut butter all over the outside of the roll, making sure to cover it completely.
Next, we roll the peanut butter-covered tube in bird seed until it's fully coated. The seeds stick easily to the peanut butter, creating an enticing treat for our feathered friends.
We then thread a piece of string through the center of the roll and tie it securely. This allows us to hang our homemade feeder from a tree branch or bird feeder stand in the backyard.
This craft not only provides a fun activity for kids but also helps reduce waste by repurposing household items. It's a great way to teach children about recycling and caring for wildlife.
We love watching the birds flock to our handmade feeders. It's a rewarding experience that brings nature closer to home and provides hours of entertainment for the whole family.
2) Mason Jar Fairy Lights

We love transforming ordinary mason jars into magical fairy light displays. It's a simple yet enchanting craft that adds a whimsical touch to any room.
To start, we gather clean mason jars and battery-operated fairy lights. We've found that warm white lights create a cozy ambiance, perfect for nurseries or kids' rooms.
Next, we carefully place the lights inside the jar. We make sure to arrange them evenly for a uniform glow. The lid can be left off or secured with the lights' battery pack hidden inside.
For an extra special touch, we sometimes paint the jars with translucent glass paint. This creates a beautiful colored effect when the lights shine through.
We've also tried adding glitter or small decorations to the outside of the jar. It's a fun activity to do with older children, letting their creativity shine.
These magical mason jar lights make wonderful gifts or bedroom night lights. They're safe for little ones and create a soothing atmosphere for bedtime stories.
3) Egg Carton Flower Wreath

We love transforming everyday items into beautiful crafts. Egg cartons are perfect for creating stunning flower wreaths that add a touch of whimsy to any room.
To start, we cut individual cups from the carton and trim them to resemble petals. A quick coat of paint in vibrant spring colors brings these flowers to life.
Once dry, we arrange the painted flowers on a circular wreath form. Hot glue secures each bloom in place, creating a lush, full appearance.
For extra flair, we add small embellishments like buttons or glitter to the flower centers. This simple touch elevates the entire project.
Our egg carton wreath makes a charming addition to front doors or interior walls. It's a wonderful way to welcome guests and showcase our creativity.
Children can join in the fun too. They'll love painting the flowers and deciding on the arrangement. It's a great opportunity for family bonding and nurturing artistic skills.
We find this craft particularly enjoyable during rainy days or as a weekend activity. It's amazing how something destined for the recycling bin can become a cherished decoration.
4) Spoon Dragonflies

We love turning ordinary objects into magical creatures, and spoon dragonflies are a perfect example! With just a few simple materials, we can transform old spoons into charming garden decorations.
To create these whimsical insects, we start with metal spoons of various sizes. We bend the handles to form the dragonfly's body and tail. The spoon's bowl becomes the wings, which we can paint or decorate with colorful nail polish.
For added flair, we use beads or small crystals as eyes. We attach them with strong craft glue. Wire can be wrapped around the body to create legs or antennae, giving our dragonflies more character.
These spoon dragonflies make lovely additions to potted plants or can be hung in windows to catch the light. We've found they're a hit at craft fairs and make unique gifts for gardening enthusiasts.
Kids love helping with this project too. It's a great way to teach them about upcycling and spark their creativity. Plus, it's a fun activity for rainy afternoons when we're stuck indoors.
5) Soda Can Wind Chime
We love the idea of turning everyday items into beautiful crafts. Soda can wind chimes are a perfect example of this creative repurposing. With just a few empty cans and some basic tools, we can create a charming outdoor decoration.
To start, we'll need to clean and dry our soda cans thoroughly. Then, we'll carefully cut the cans into various shapes using scissors or a craft knife. Safety first - let's make sure to wear gloves to protect our hands from sharp edges.
Next, we'll punch holes in the top of each shape for hanging. We can use fishing line or thin wire to connect the pieces. For added flair, we might paint the can pieces or leave them as-is for a metallic shine.
The final touch is attaching our wind chime pieces to a central hanger. An old CD or a small piece of wood works great for this. We'll space out the dangling can pieces evenly for the best sound and appearance.
This craft is a fun way to spend an afternoon with our kids. It teaches them about recycling and lets their creativity shine. Plus, we'll have a unique decoration for our porch or garden that makes lovely tinkling sounds in the breeze.
6) Button Tree Artwork
We love transforming ordinary buttons into beautiful tree-inspired art pieces. This craft is perfect for using up those spare buttons we all have lying around.
To start, we gather buttons in various sizes and shades of green and brown. We also need a canvas or sturdy piece of cardboard as our base.
Next, we sketch a simple tree outline on our canvas. This serves as a guide for button placement. We begin gluing buttons at the bottom, working our way up the trunk and out to the branches.
For added charm, we mix in a few colorful buttons to represent blossoms or fruit. Small white buttons can even create a snowy winter scene.
This project is great for little hands to help with, improving fine motor skills as they sort and place buttons. It's also a wonderful way to spend quality family time together.
When finished, our button tree becomes a unique piece of wall art. It's a creative way to display cherished buttons from old clothing or family heirlooms.
7) Wine Cork Stamps
We love finding creative ways to reuse everyday items, and wine corks are perfect for crafting. With a few simple steps, we can transform these little stoppers into adorable stamps for our kids' art projects.
To start, we'll need some clean wine corks, a sharp knife, and ink pads. We carefully carve simple shapes like hearts, stars, or flowers into the flat end of the cork. It's important to supervise young children during this step.
Once our designs are ready, we dip the carved end into an ink pad. Then we press it onto paper to create fun patterns and designs. Our little ones can mix and match colors for vibrant artwork.
These homemade stamps are great for decorating cards, gift wrap, or even plain t-shirts with fabric paint. We can also use them to make custom wrapping paper or personalized stationery.
Wine cork stamps offer endless possibilities for creative play. They're easy to make, eco-friendly, and provide hours of entertainment for our kids. Plus, it's a fantastic way to upcycle something we might otherwise throw away.
8) Popsicle Stick Picture Frame
We love turning everyday items into fun crafts with our kids. Popsicle stick picture frames are a perfect project for little hands to create personalized gifts or room decorations.
To start, we gather clean popsicle sticks and arrange them in a square or rectangular shape. We use craft glue to secure the corners, creating a sturdy base for our frame.
Once dry, it's time to decorate! We let our children's imaginations run wild with paint, glitter, stickers, or even small shells and buttons. It's amazing to see how unique each frame becomes.
For a finishing touch, we attach a piece of cardboard to the back with a cutout for the photo. A ribbon or twine loop completes the frame, ready for hanging.
These homemade frames make wonderful presents for grandparents or teachers. We've found they're especially cherished when paired with a special photo inside.
It's a simple yet rewarding craft that keeps our kids engaged and proud of their creations. Plus, it's a great way to use up those leftover popsicle sticks from summer treats!
9) Bottle Cap Magnets
We love finding creative ways to reuse everyday items, and bottle caps are perfect for this! With a little imagination, we can transform these small metal discs into fun and functional magnets for our refrigerators or magnetic boards.
To get started, we'll need some clean bottle caps, strong magnets, and a good adhesive. We prefer using epoxy or a strong craft glue for a lasting hold. It's a great project to do with the kids on a rainy afternoon.
First, we decorate the inside of the bottle caps. We can use small photos, colorful paper, or even let the little ones paint designs. It's a wonderful opportunity for them to express their creativity.
Once the decorations are dry, we simply glue the magnets to the back of the bottle caps. It's that easy! In no time, we've created unique, personalized magnets that add a touch of charm to our kitchen.
These bottle cap magnets make wonderful gifts too. Our children can make them for grandparents or teachers. It's a thoughtful, handmade present that's sure to bring smiles.
10) Old T-Shirt Tote Bag
We love finding new uses for old clothes, and this craft is perfect for repurposing those worn-out t-shirts. With just a few simple steps, we can transform an old tee into a stylish and eco-friendly tote bag.
To start, we'll need a t-shirt, scissors, and a sewing machine (or needle and thread for hand-sewing). First, we cut off the sleeves and neckline to create the bag's opening. Then, we turn the shirt inside out and sew the bottom closed.
For added strength, we can double-stitch the bottom seam. Next, we cut thin strips along the bottom of the shirt, about 3 inches up, to create fringe. We tie these strips together to close any gaps and add a decorative touch.
Finally, we turn the shirt right-side-out, and voila! We've created a unique, personalized tote bag. It's perfect for carrying groceries, books, or beach essentials. Plus, it's a great way to involve our kids in a fun, eco-conscious craft project.